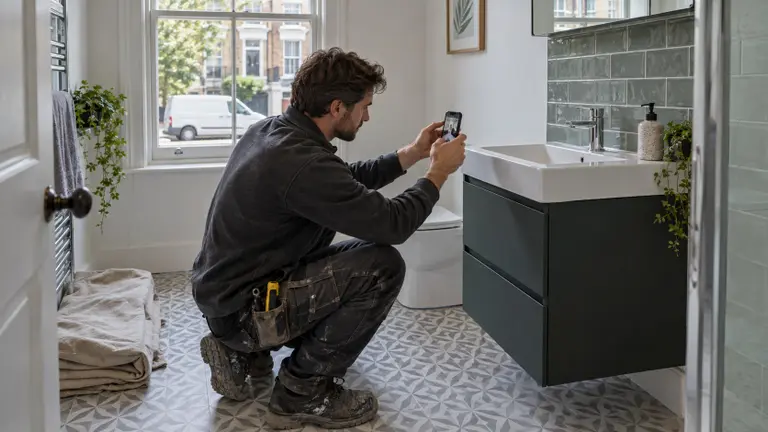
Job completion photos are evidence, and evidence is what wins you the next job. Not the price. Not the nice email. A property manager with a long list of open jobs can't visit every flat, so the contractor who shows them the finished work clearly, without being chased, is the one they ring next time. Here's how I'd set it up step by step, and how it runs in Plan@Job.
Quick definition first, because I'll use the word a lot. In Plan@Job an operator is the contractor business running the show: the clients, the jobs, the subbies and your own operatives. If that's you, this is for you.
Why do completion photos matter more than the invoice?
Because the client wasn't there. The landlord asks the agent "was it done?", the agent asks you, and if all you've got is "yes mate, sorted", you've just made their day harder.
Photos answer the question before anyone asks it. They also protect you. When a tenant says nobody came, or the leak is back three weeks later, the photos are what you point to.
Here's the part people hate hearing: if you can't prove the work, as far as the client is concerned it didn't happen. My back office runs from Tangier and I do the UK site visits myself. Nobody in that office can see a ceiling. The photos are the job. So my rule has always been simple. No photos, no invoice.
Step 1: Decide what proof the job needs before anyone goes out
Do this when the job lands in Jobs, not when someone's already stood in the kitchen.
- Open the job in Jobs and read the brief properly. What is the client actually paying for?
- Add a short shot list to the brief. A boiler repair needs different photos to a fence panel.
- Flag anything that gets covered up. Pipework before it's boxed in, a joist before the floor goes back, a damp treatment before the plaster. Once it's hidden, you can't photograph it.
- If a subbie or one of your operatives is doing the work, give them the shot list when you assign the job. Not after.
On a bigger job, split it into stages in the project plan and write the shot list per stage. Each stage has its own scope, so it's obvious what "done" looks like for each one.
This step is a person's decision. Plan@Job holds the job and the brief, but only you know what this particular client is going to question.
Step 2: Take the photos on site the right way
This is where most of it is won or lost. Do it in this order:
- Arrival. If you can't get in, photograph the door, the building entrance and the card or note you left. That's how you prove you turned up on a no-access visit.
- Before. A wide shot of the room or area first, then close-ups of the problem. Remember the angle.
- During. Anything that will be hidden, and anything you found that wasn't in the brief. That second one is how you get a variation agreed instead of an argument.
- After. Same angles as the before. Wide, then close. Side by side, that's the whole story in two pictures.
- Tidy. One shot of the area left clean. Agents notice this more than you'd think.
- Paperwork. Where the work needs a certificate under current gas or electrical safety rules, that goes with the job too. A photo doesn't replace it.
Keep the phone steady, turn the lights on, wipe the lens. Simple. A dark, blurry photo of a radiator proves nothing.
Step 3: Get the photos onto the job the same day
Photos sitting in somebody's camera roll are no use to you. Neither are photos lost in a group chat with three subbies and forty memes.
- Get the photos onto the job record in Plan@Job the same day the work is done.
- Check them while the van is still nearby. Wrong flat, blurry, missing the after shot? Ask for a reshoot now, not on Friday.
- Pick what the client will see. Not every photo. The ones that tell the story: before, the fix, after, tidy.
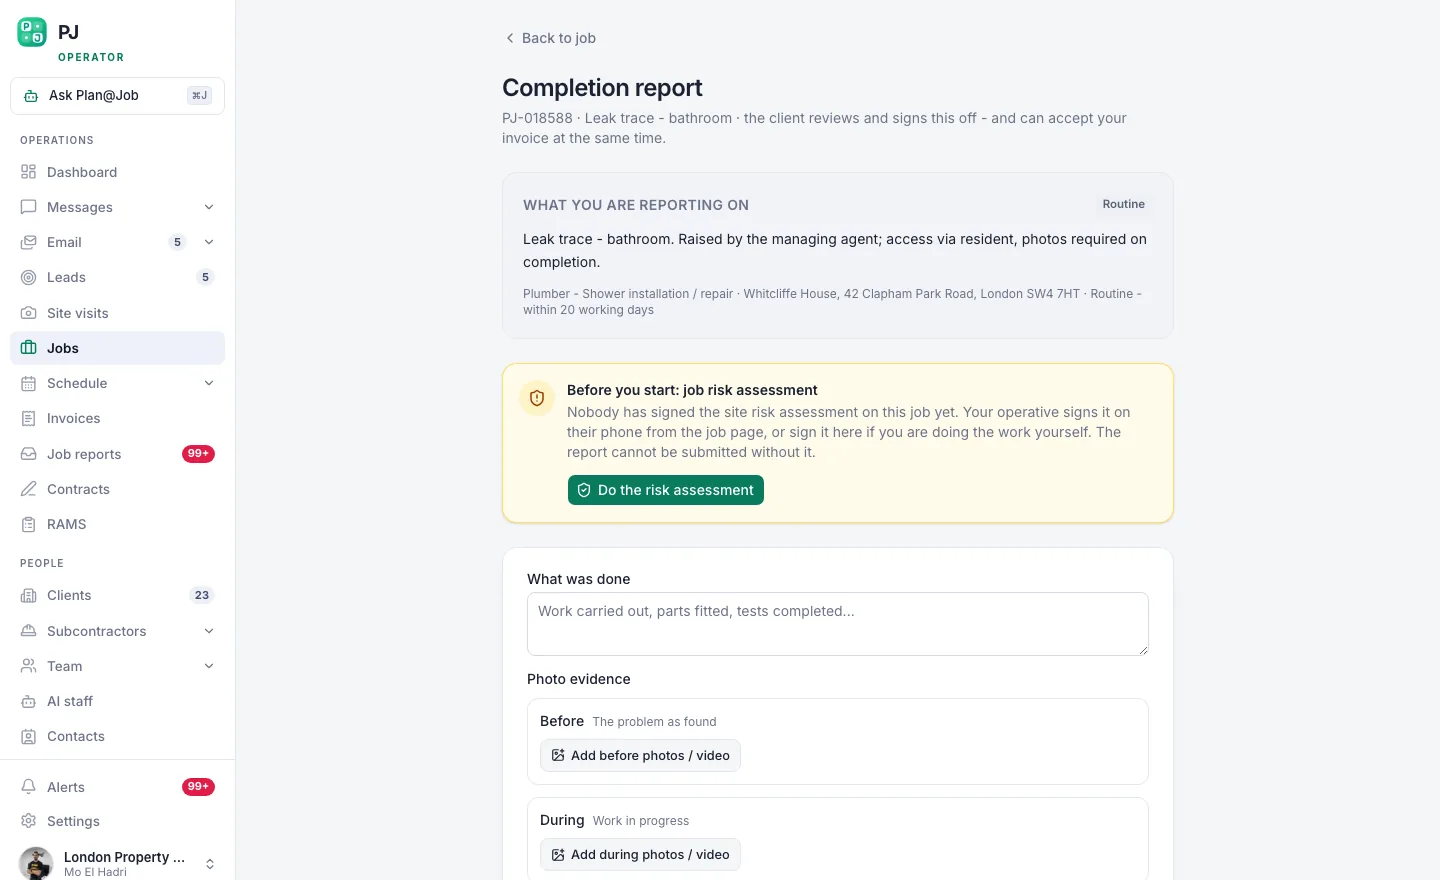 The completion report is the thing property managers actually pay for: proof the work happened.
Illustrative example, not a real job: a letting agent sends a leak under a kitchen sink. Your subbie photographs the swollen cupboard base on arrival, the failed compression joint, the new joint, and the dry cupboard with a towel underneath. Four photos. The agent forwards them to the landlord in one message and the question "was it done?" never gets asked.
Step 4: Check the report in Job reports and send it
This is the step you never hand off completely.
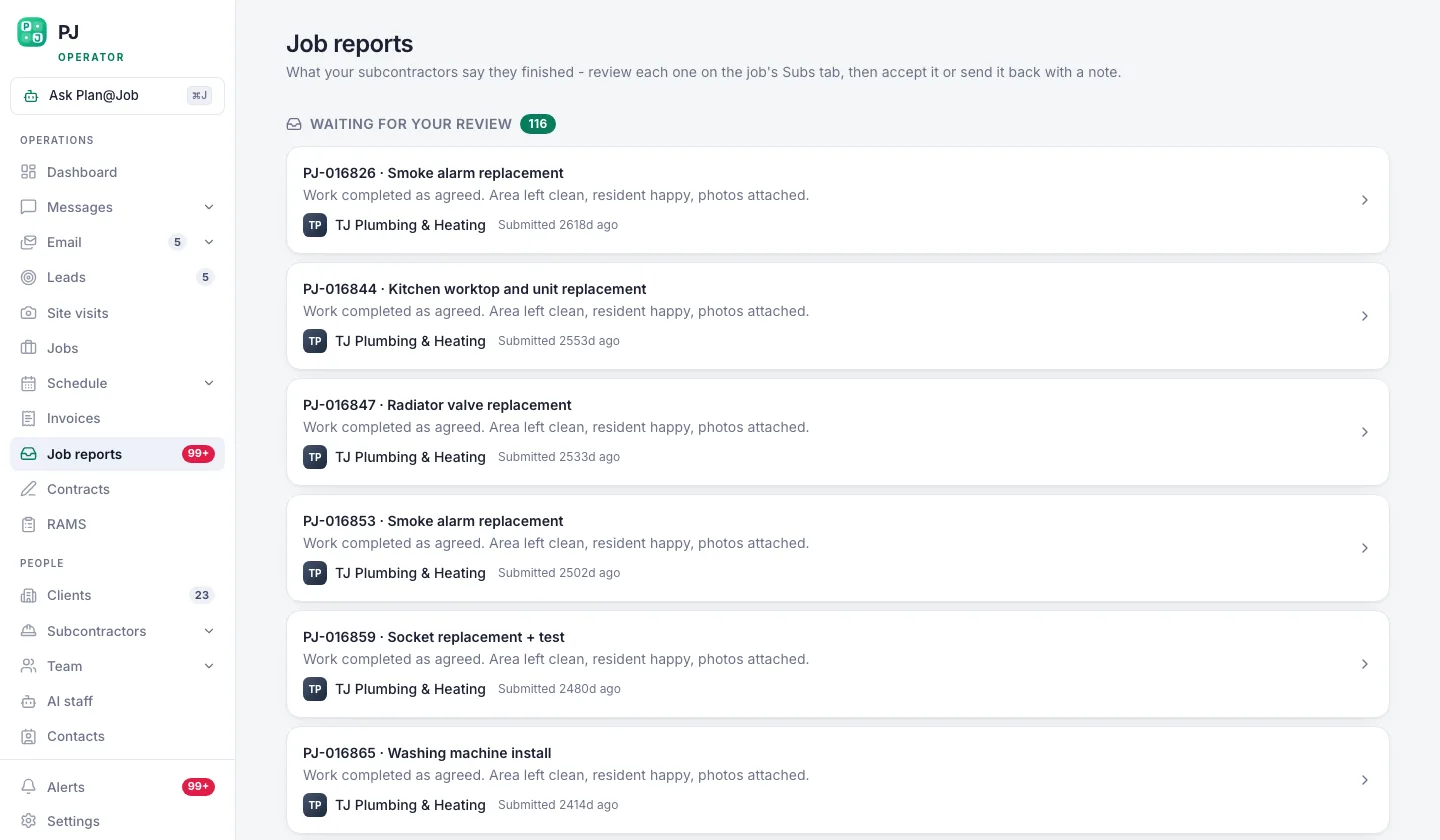 Reports queue up drafted, so a person checks them before a client ever sees one.
- Open Job reports. Drafts sit there until someone looks at them.
- Read the report as if you're the client. Does it say what was done, where, and show it?
- Check nothing internal is going out. In Plan@Job the client sees the agreed scope, the agreed price and the evidence you share. Your internal stage costs and which subbie did the work stay internal. Keep it that way in the wording too. Don't paste the subbie's company name into the notes.
- Send it. The report moves from drafted to sent, and you can see which ones have been signed off.
- Once it's signed off, raise the invoice in Invoices. Evidence first, money second. The client has nothing to argue with.
What needs your decision and what Plan@Job does
Plan@Job keeps the photos with the job, holds the report as a draft, and shows you where each one stands. That's the admin you'd otherwise be doing on a spreadsheet at 9pm.
You decide the shot list, which photos go out, what the report says, when it's sent and when the invoice goes. Nothing reaches a client without a person checking it.
If an invoice later goes overdue, Maya Collins, the AI Finance Coordinator in AI staff, prepares the chase for you to approve. She works to fixed finance workflows. She doesn't send anything on her own or change your terms.
What usually goes wrong
I've seen every one of these. Most of them more than once.
- No before photo. Without it, your after photo is just a nice picture of a room.
- Photos taken, never uploaded. The subbie has them, the subbie is now on another job, the subbie isn't answering.
- Dumping every photo into the report. The client won't scroll through it. Pick the ones that prove the point.
- Writing the report a week later. By then nobody remembers which bathroom was which.
- "All done" as the description. Say what was done. One plain sentence is enough.
- Covered work with no photo. Once it's plastered over, you're asking the client to take your word for it. Some will. The good ones won't.
The fix for all of it is the same. Shot list before, photos the same day, a person checks the report before it goes. Make it how the business runs, not something you remember on good days.
Your next move
If you're running jobs with subbies and operatives and the proof lives in five different phones, that's not a business yet. That's a job with extra steps. Put the jobs, the photos and the reports in one place, check every report before it goes, and let the evidence do the selling.
Have a look at how Plan@Job works for contractors in the UK and set up your first job with a proper shot list. Then send one report the right way and watch how the next enquiry from that client feels.
FAQ
How many photos should a completion report have?
There's no magic number. Enough to show the before, the fix and the after from the same angles, plus anything that got covered up. If the client has to scroll for ages, you've sent too many. Pick the ones that tell the story.
Will my client see which subcontractor did the work?
Not from Plan@Job's internal records. The client sees the agreed scope, the agreed price and the evidence you choose to share, while subcontractor identity and internal stage costs stay internal. Just make sure your own wording in the report doesn't give it away.
Do photos replace certificates for gas or electrical work?
No. Photos prove you were there and show the finished work. Where current safety rules require a certificate, it has to be issued properly by someone qualified to do it. Send both, and don't treat one as a stand-in for the other.