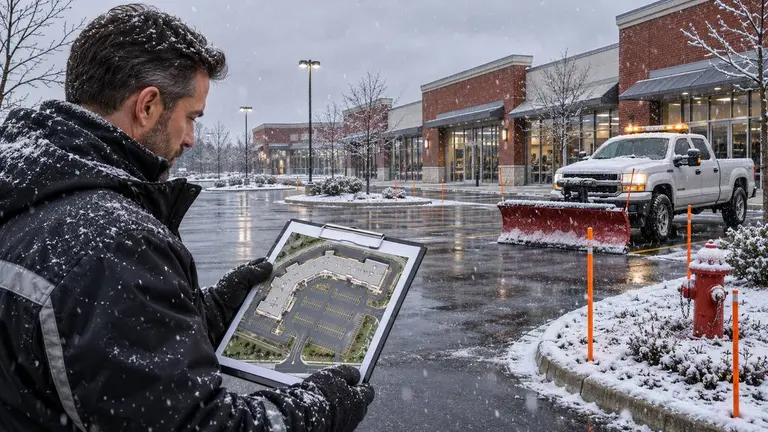
A snow contractor site map is the one document that tells a plow operator, in the dark and in a storm, exactly where to clear, where to salt, where to pile snow and what not to hit. A good one includes clear service boundaries, snow storage zones, marked hazards, a priority order, ice control areas, access details and emergency contacts, all agreed and signed off before the first snowfall. If the map is vague, the crew fills the gaps with guesses, and guesses are where damaged curbs, blocked fire routes and slip complaints come from.
This guide is for property managers who hire snow contractors and for the maintenance contractors who do the work. The checklist is the same from both sides. The difference is who signs what.
Why the map matters more than the contract wording
A winter maintenance contract sets the rules: triggers, response times, what counts as a visit, how ice control is charged. The site map shows where those rules apply. When the two disagree, or when the map is missing, disputes follow.
Most snow problems are location problems:
- Snow piled on top of a catch basin, then melt water pooling and freezing across a walkway.
- A windrow left across the entrance to accessible parking.
- A blade catching a curb, a speed bump or a garden edge hidden under fresh snow.
- A loading dock or emergency exit cleared late because nobody listed it as a priority.
The operator in the truck at 3 a.m. may not be the person who walked the site in October. The map has to work for someone seeing the property for the first time, at night, with snow covering most of the landmarks.
What to include on a snow contractor site map
Start with a clear base image. A recent aerial photo or a scaled site plan works well. Draw on top of it with a simple legend and consistent colours, and print a version that is still readable in black and white.
Service boundaries
Mark exactly what is in scope and what is not.
- Parking areas, drive aisles and entrances to be plowed.
- Sidewalks, walkways, stairs and ramps to be shovelled or cleared by machine.
- Areas explicitly excluded, such as a neighbour's lot, a private driveway or a section the municipality clears.
- Public sidewalks along the frontage, if your municipality makes the property owner responsible. Check your local bylaw rather than assuming.
Shade in-scope areas in one colour and exclusions in another. Ambiguous edges should be resolved on the site walk, not in an email after the first storm.
Snow storage and piling zones
This is the section most maps get wrong. Show where snow goes, not just where it comes from.
- Primary piling areas, sized for a heavy season, not an average one.
- Overflow areas for when the primary zone fills up.
- Places snow must never be piled: on catch basins, against buildings, over landscaping, in sightlines at exits, or onto the road.
- Where relocation or haul-away will happen if storage runs out, and who approves that extra cost.
Many Canadian municipalities restrict pushing snow onto streets or public sidewalks. Confirm the rules where the property is located and note them on the map.
Hazards and things not to hit
Anything that sits low or could be buried belongs on the map, with a matching stake on site.
- Fire hydrants and fire department connections.
- Catch basins, drains and trench grates.
- Curbs, islands, speed bumps and wheel stops.
- Gas meters, electrical boxes, light pole bases and bollards.
- Irrigation heads, decorative rock, garden beds and young trees.
- Steep grades, drop-offs and retaining walls.
Take a photo of each hazard before snowfall and number it to match the map. Those photos also help both sides when there is a damage question in spring.
Priority order and service triggers
Show the sequence the crew should follow when they arrive. A typical order might start with fire routes and emergency exits, then accessible parking and curb ramps, then main entrances and walkways, then drive aisles, then general parking.
The trigger depth and response times belong in the contract. The map should simply reference them so the crew does not have to go looking. Do not let the map quietly set a different standard from the agreement.
Ice control areas
Mark where salt, sand or other de-icer is applied, and where it is not wanted. Some properties restrict salt near new concrete, landscaping, pavers or water features. Note whether walkways and lots are treated the same way or separately, because they are often priced and scheduled differently.
Access, contacts and timing
A short panel on the map should cover:
- Site address and any gate codes or lock box details, shared securely.
- Times to avoid, such as garbage pickup, school drop-off or a tenant's opening hours.
- Where to park equipment and where not to leave it.
- The on-call property contact and the contractor's dispatch contact.
- The map version and date.
How to build the map
The best maps come from a joint site walk in the fall, before the ground freezes.
- Book the walk with the property manager and the contractor's site lead.
- Walk the full boundary and agree what is in and out of scope.
- Locate every hazard, photograph it and install snow stakes or reflective markers.
- Agree the snow storage and overflow areas, and check drainage around each.
- Confirm priority order and any no-salt zones.
- Draw the map on the base image with a legend and numbered hazards.
- Both parties review, correct and sign off on the version that will go in the truck.
- Store a copy with the contract, the job record and in each vehicle that serves the site.
What needs a person's decision
A map is not a substitute for judgment. Some calls should always be made by named people, not left to the crew or to software.
- Scope changes. Adding a walkway or a new parking section is a change to the agreement and should be approved by the property manager.
- Haul-away or relocation. These usually cost extra. Agree in advance who can authorize them.
- Damage reports. The contractor should report damage promptly with photos. The property manager decides how it is handled under the contract.
- Safety exceptions. If a hazard is found mid-season, the site lead and property contact should agree a temporary fix and update the map.
- Legal or insurance questions. Liability for slips and falls varies by province and contract. Get advice from your insurer or a lawyer, not from the map.
Keeping the map current through the season
A map signed off in October can be wrong by January. Snow banks grow, stakes get knocked over and tenants change how they use the lot.
Agree a simple routine. After each major storm, the site lead notes anything that no longer matches the map. Any change gets a new version number and date, and the old copy is removed from the trucks. In spring, walk the site again, check for damage against the fall photos and record what to change next year. That spring walk is also the right time to plan repairs to curbs, turf and pavement.
Where Plan@Job fits
Plan@Job is AI-powered project and operations management for construction and property businesses. It is live in the UK, and Canadian property managers can register interest through the Canada property managers page. Contractors can do the same on the Canada contractors page. In Plan@Job, an Operator is the contractor business that manages clients, project delivery, subcontractors and its own operatives.
Illustrative scenario, not a real customer: a property manager sends a seasonal snow brief for a retail plaza but leaves out the snow storage areas and the on-call contact. Sophie Bennett, the AI Enquiries Coordinator, checks the existing job brief for missing information and asks for clarification. If two attempts do not get an answer, the request is handed to a person. The Operator can then split the job into internal stages, such as the fall site walk and staking, the winter service period and the spring damage walk, each with its own scope, dates, status and costs. The client sees the overall agreed scope and price and the evidence that is shared with them, while internal stage costs stay internal.
None of this makes decisions for you. Prices, awards, scope changes and damage claims still need a person's approval. You can read more about how the AI staff support that work.
If you manage properties in Canada and want a clearer way to brief and track seasonal work, register your interest on the Canada page.
FAQ
Who should create the snow contractor site map?
Ideally both parties. The contractor usually drafts it after a joint site walk, and the property manager reviews and signs it off. Joint ownership means fewer disputes about what was agreed.
How often should the site map be updated?
Update it whenever something on site changes, such as a new hazard, a full storage area or a scope change. Give each version a date and number, and remove old copies from the trucks.
Should the site map include trigger depths and prices?
Keep prices and detailed terms in the contract. The map can reference the agreed trigger and priority order so crews have them on hand, but it should never set a different standard from the agreement.